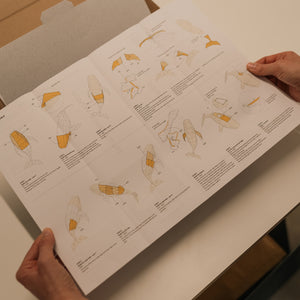
How To Assemble
You will spend a few hours assembling your paperlamp, so take time to do this in a relaxed way with breaks in between. Every model requires different assembly durations, depending on its complexity, size or number of pieces, as well as your experience and skill. Make sure to try your practice model first, so you feel more comfortable when you move on to assembling your paperlamp.
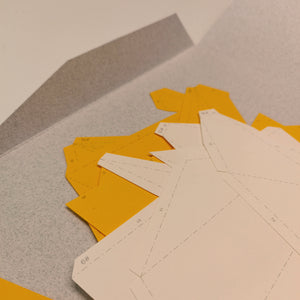
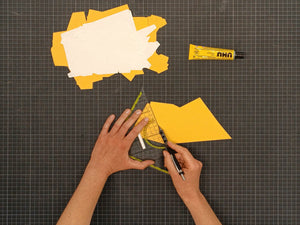
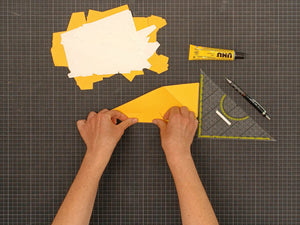
To crease the paper you will need a scoring tool (like the metal tip of a mechanical pencil) and a ruler. You will also need glue to join the paper pieces. We recommend UHU® All Purpose Adhesive glue or other equivalent types of glue. These auxiliary tools are not included.
Get Started
Start by creasing all the pieces with the scoring tool and ruler. Face the printed side of the paper towards you and score all the lines. Then fold the pieces according to the type of line indicated: Mountain fold — up. Valley fold — down.
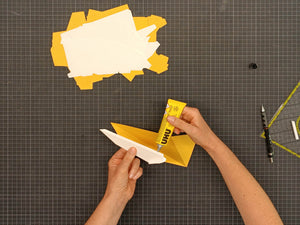
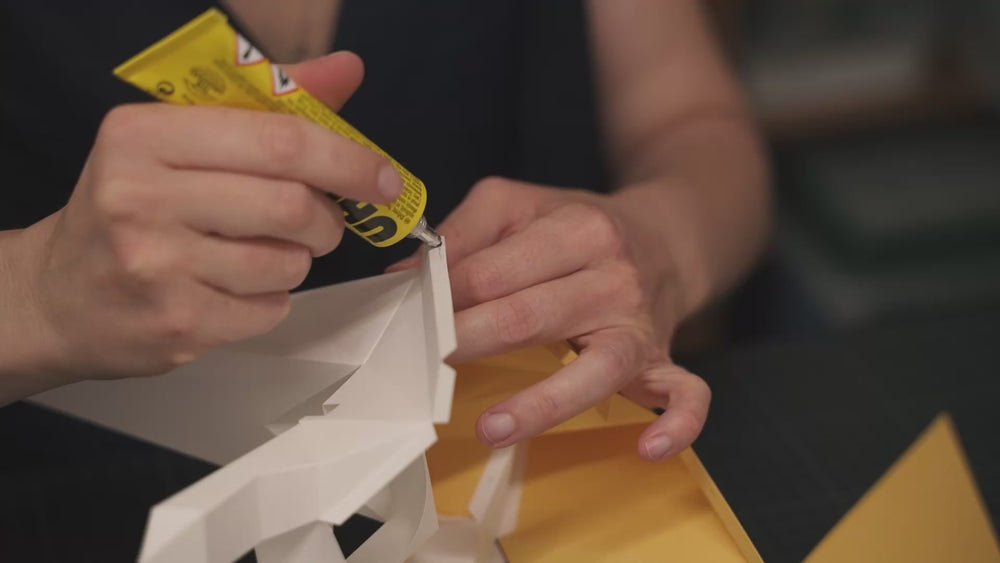
To glue the pieces together place a thread of glue on each flap. Make sure to do this on the reverse side of the printed paper and match the flaps with their sides inside the model, using the small numbers for reference. Once you are finished, the flaps will be inside your paperlamp, as well as the printed lines and annotations. If you have any questions or need support, contact us.
How To Score, Fold & Glue
SCORE
Use a scoring tool and a ruler to crease the paper. This will make it easier to fold and obtain defined edges on your paperlamp.
FOLD
Fold the pieces along the printed lines.
Mountain fold — up
Valley fold — down
GLUE
Place the glue along the flaps, matching the flaps with their sides inside the model.
Tutorials
Assembling your DIY paperlamp kit - Basic Notions

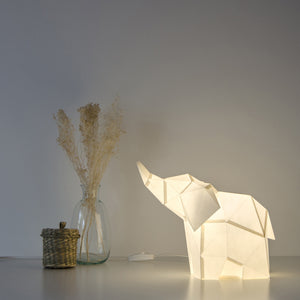
Assembling the Baby Elephant DIY Paperlamp Kit
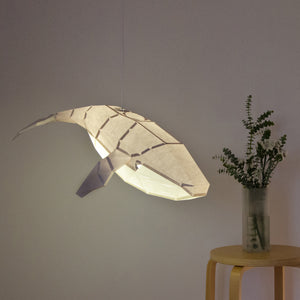
Assembling the Humpback Whale DIY Paperlamp Kit